Installation instructions
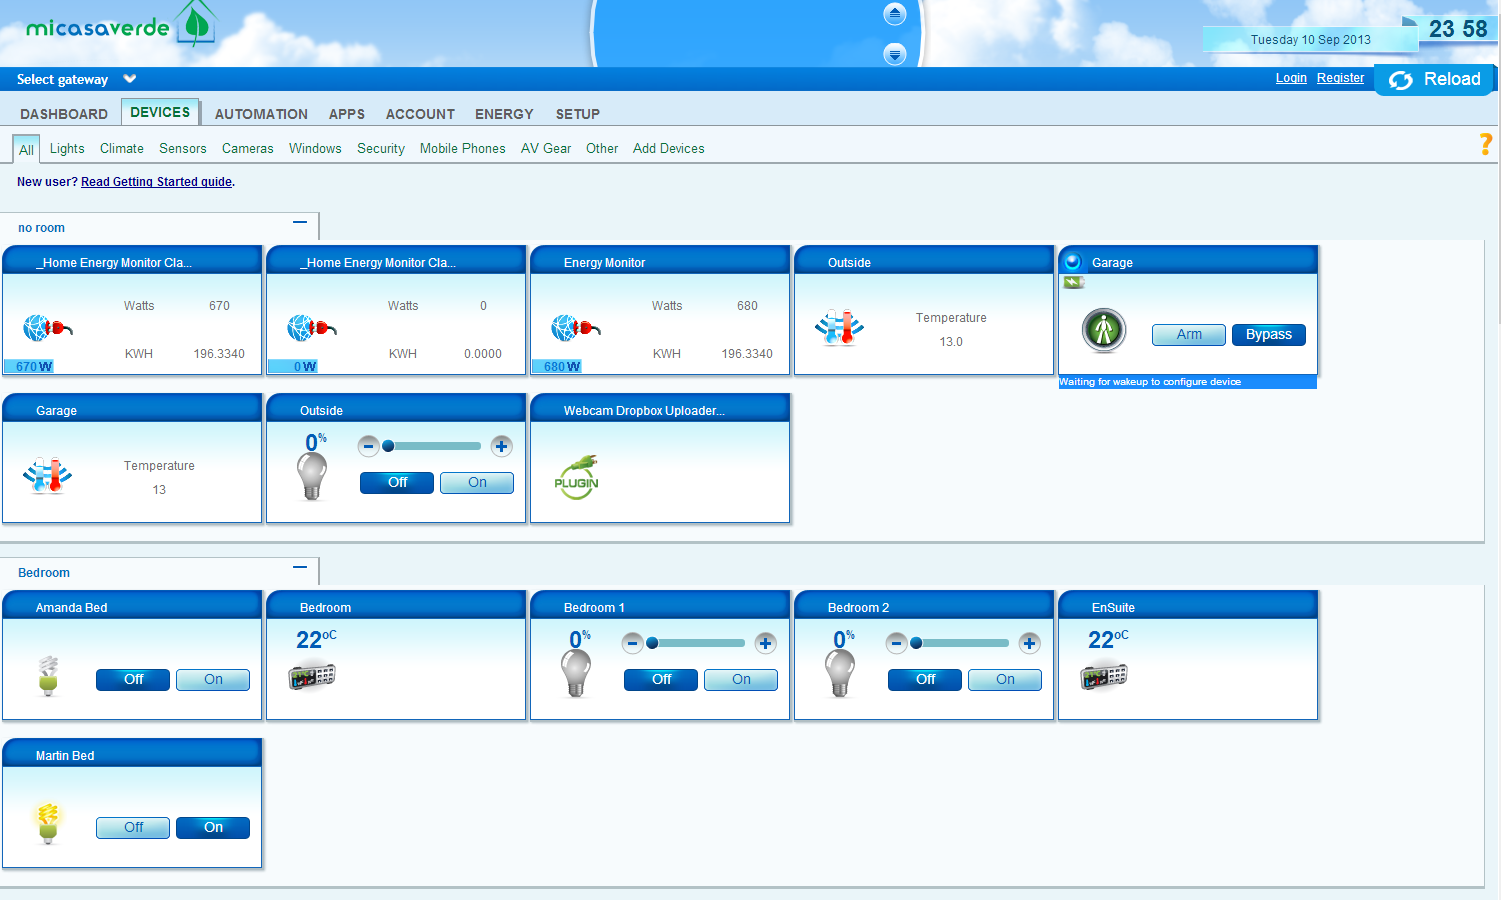
1) After you install the Vera Webcam Dropbox Uploader plugin, you will see a device called Webcam Dropbox Uploader. Click on the settings icon to configure it.
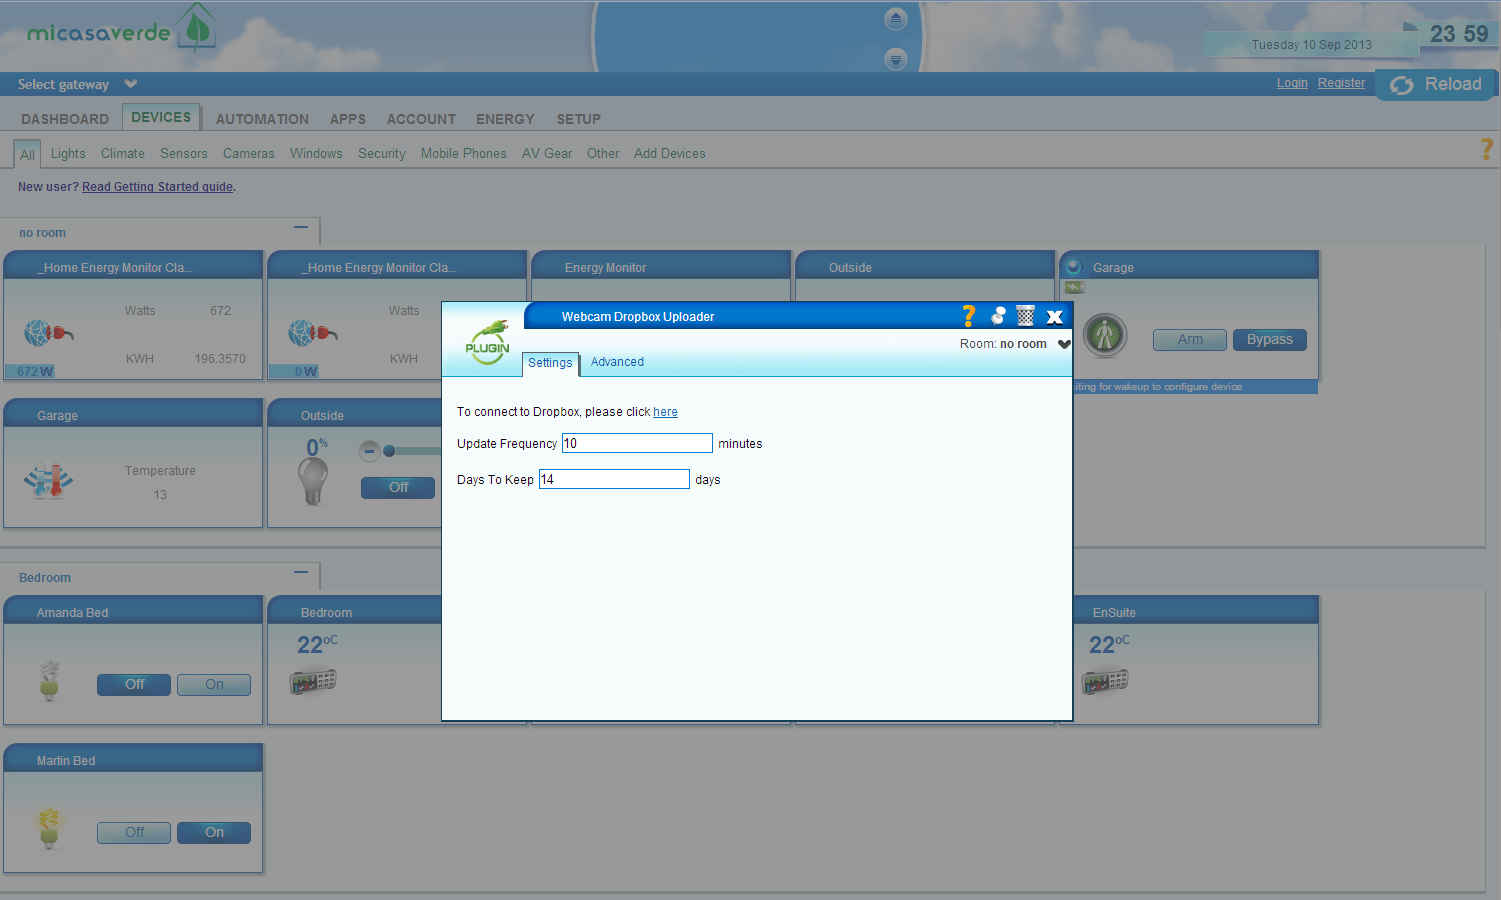
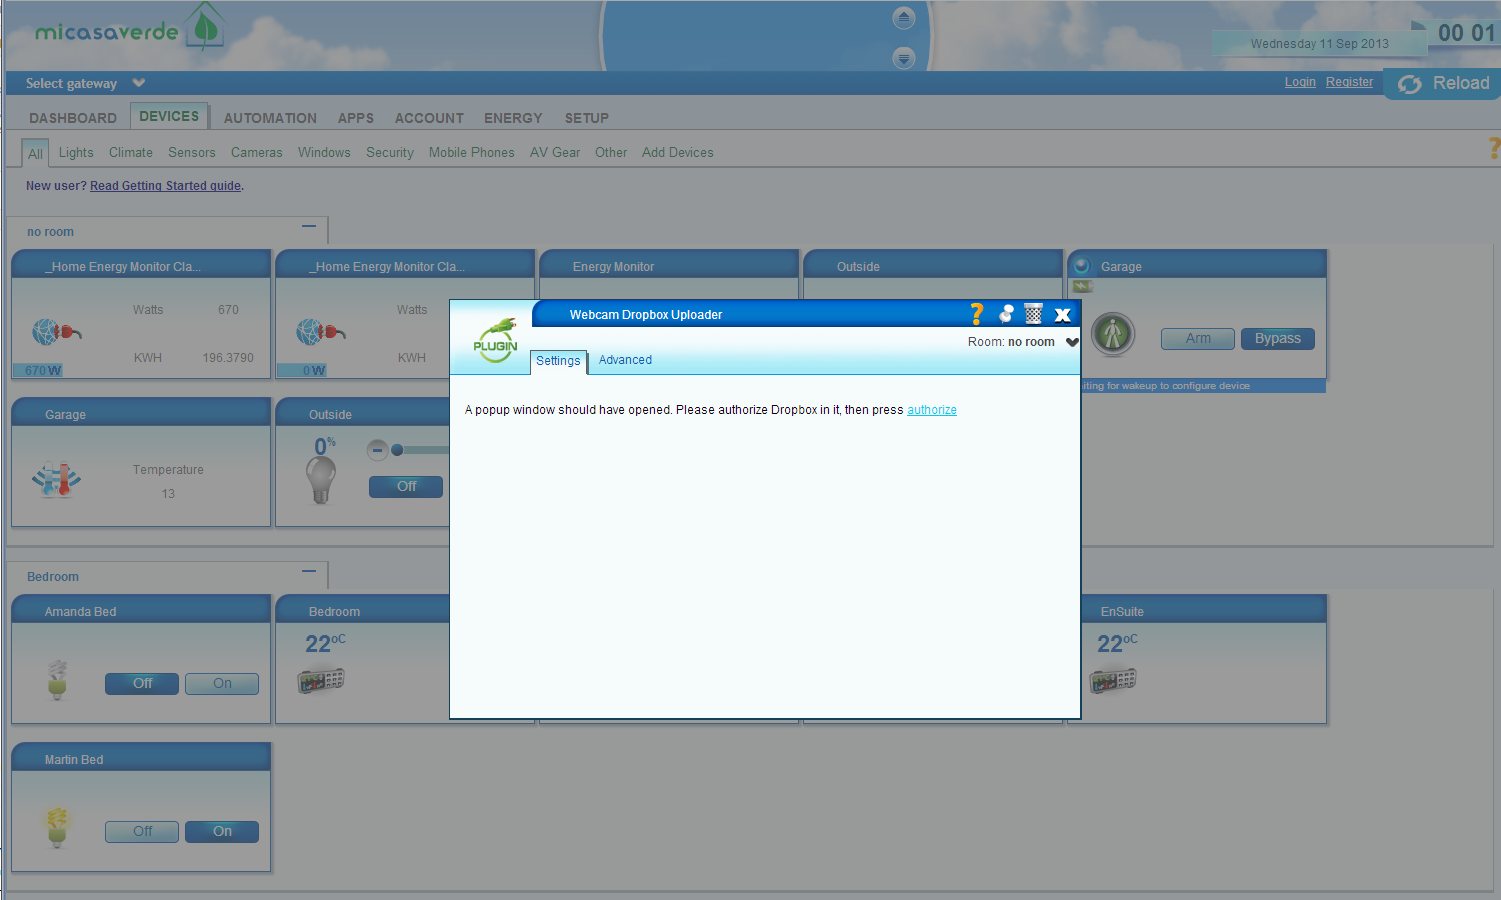
2) Click on connect to open a Dropbox.com browser window to authorize the app.
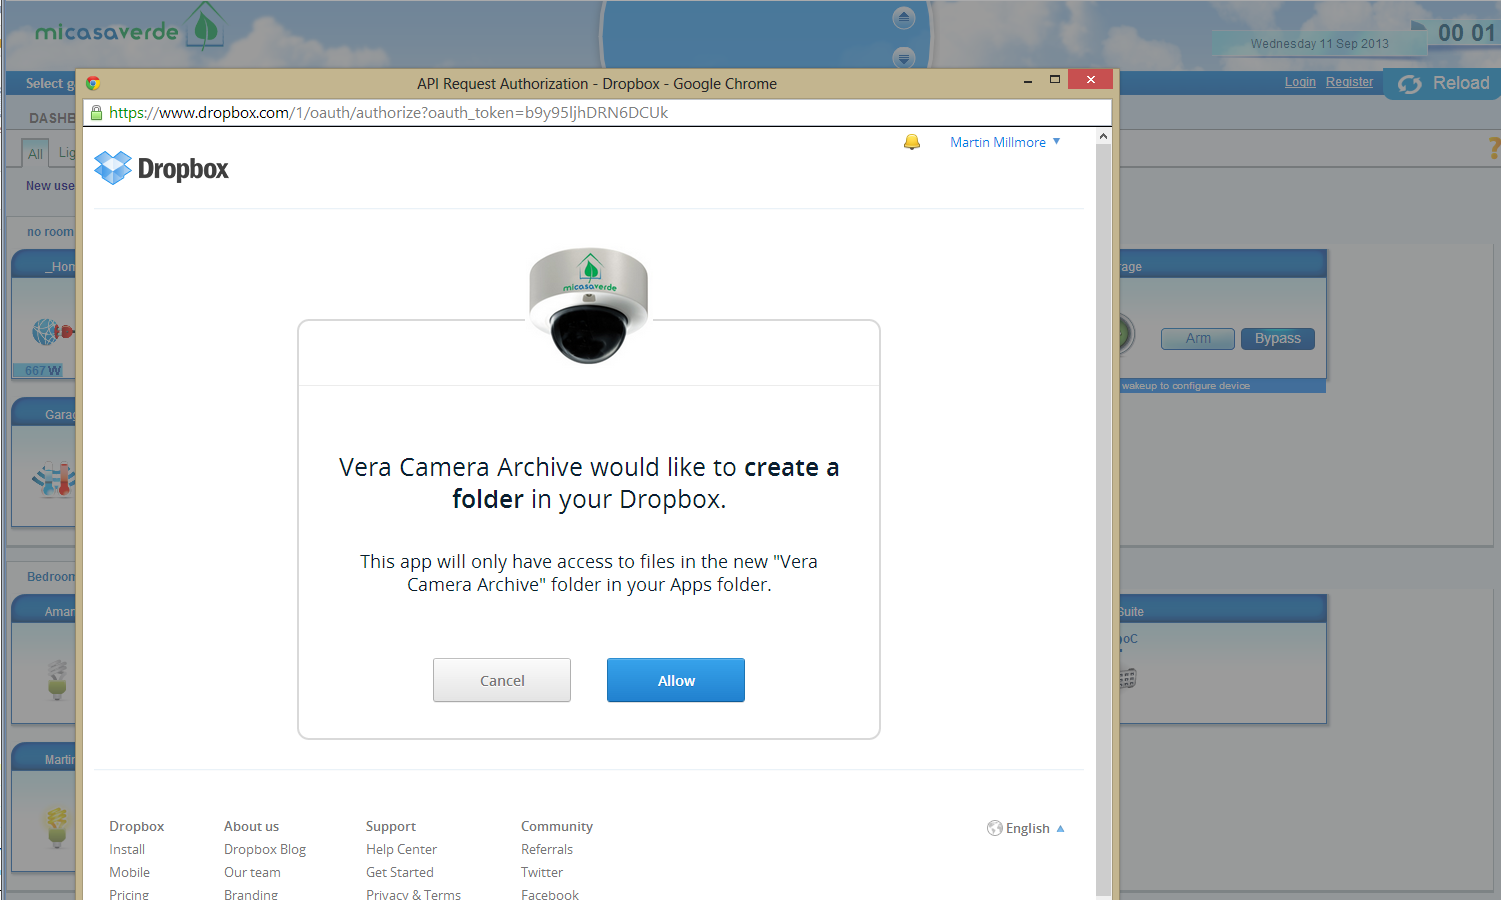
If you have a popup blocker, it may block the window. You need to allow the popup to open to authorize the app. In the Dropbox window, click on Authorize, and then when it has authorized, you can close the Dropbox window
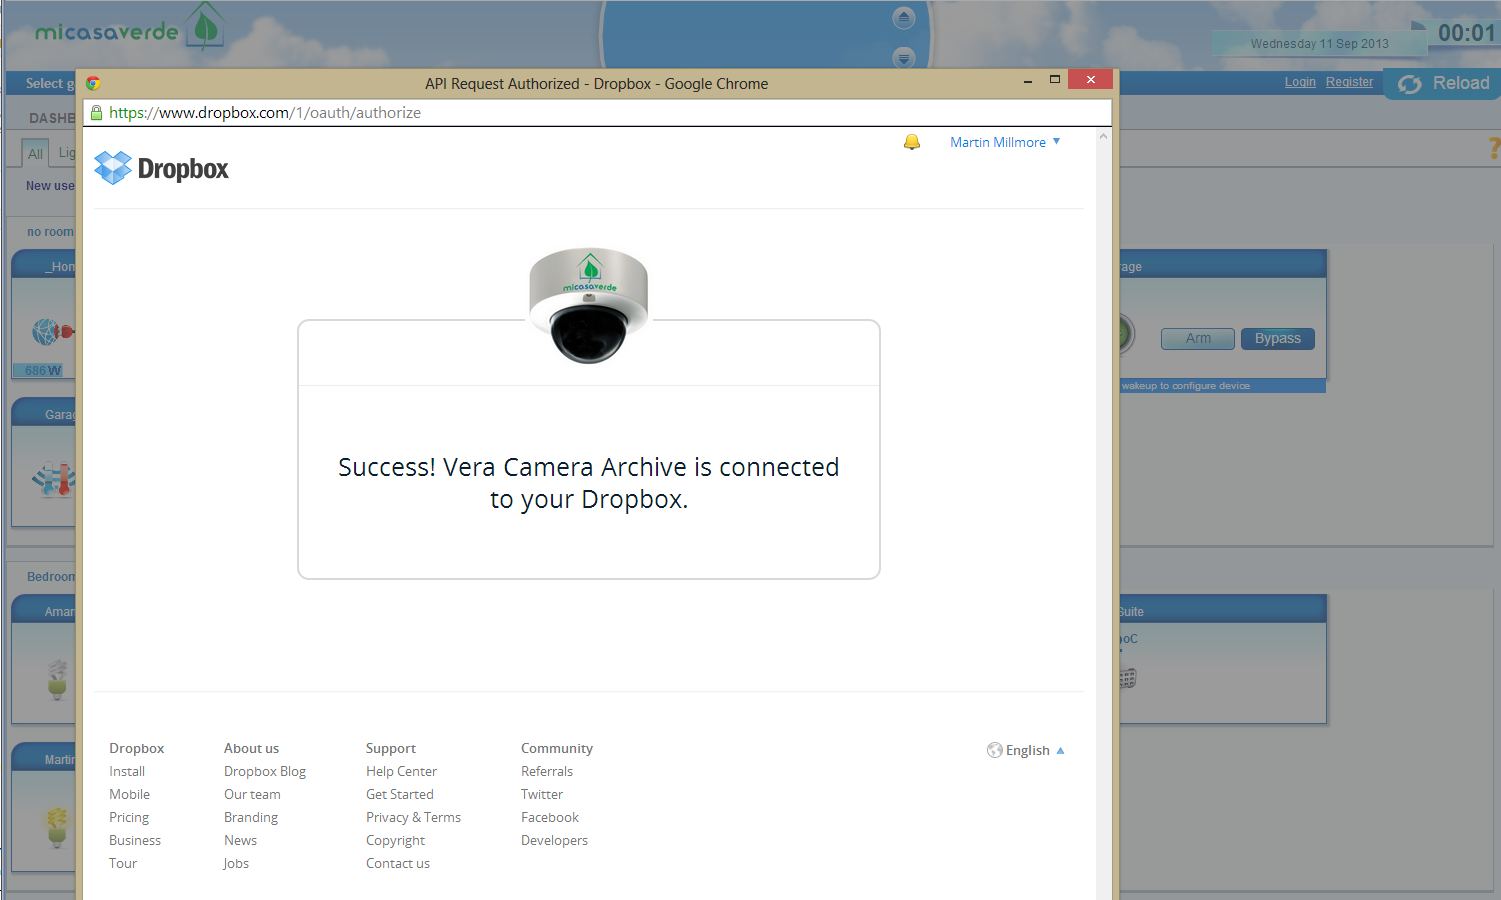
3) Back in your Vera window, now click on authorize to pull the details from Dropbox into your Vera.
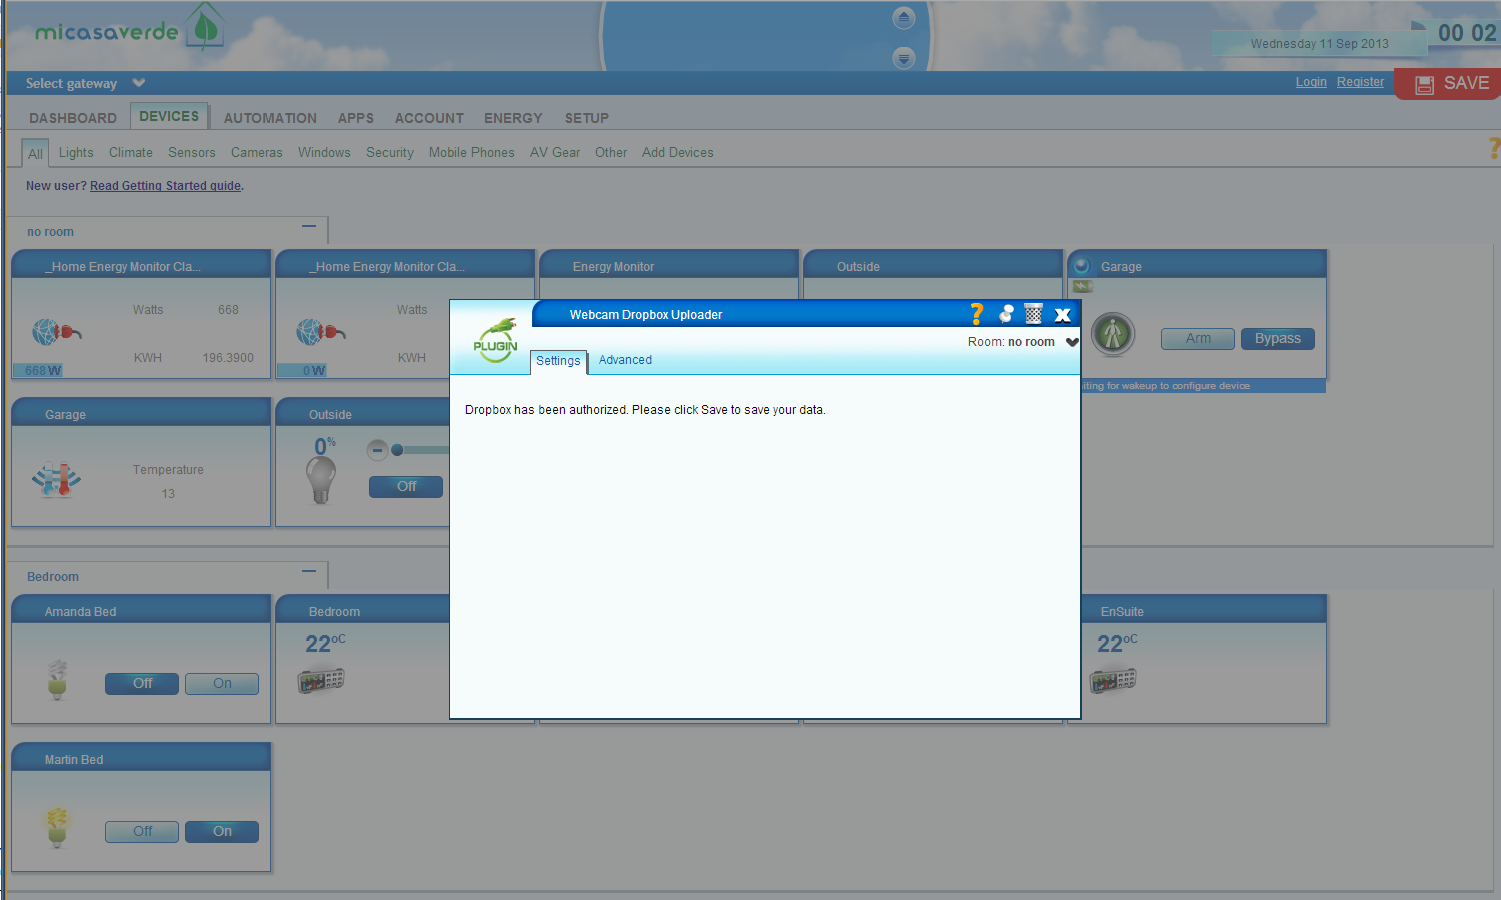
4) Enter the interval in minutes that you want to have between uploading images. If you don’t want to automatically upload, enter 0. Once you have done that, hit save.
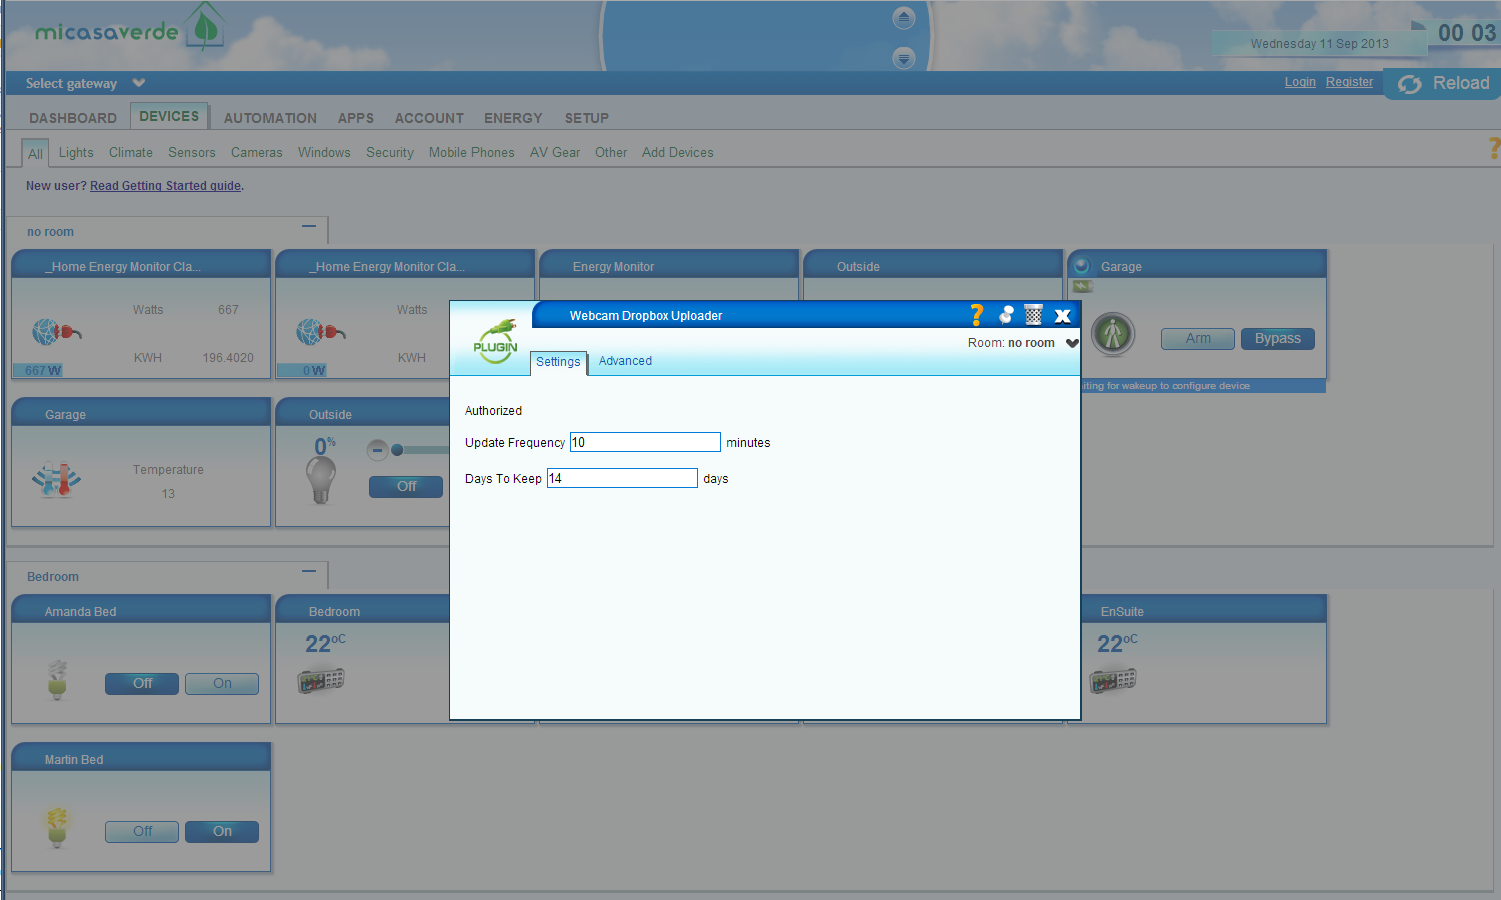
5) Your webcam images will now be stored in Dropbox. They get stored in a folder called Apps/Vera Camera Archive. You can’t change that directory name as that is the only directory that the code has access to – it is restricted to just that folder to protect your privacy.
Inside that folder, you will see a folder for each day. Any folders with the name year_month_day will be removed if they are older than the number of days which you specify. If you rename the folder to something else, it will get ignored in the cleanup. That cleanup happens when you restart your Vera, and once every 24 hours after that.
Service instructions
If you want to upload images as part of a scene, you can do that with the following service call;
luup.call_action("urn:milliesoft-com:serviceId:WebcamDropboxUploader1","SendAllSnapshots", "",XXX)
replacing XXX with the number of your Webcam Dropbox Uploader device
If you want to run for just one webcam, use the following code;
lul_settings={} lul_settings["webcamNumber"]=YYY luup.call_action("urn:milliesoft-com:serviceId:WebcamDropboxUploader1","SendSnapshot", lul_settings,XXX)
replacing XXX with the number of your Webcam Dropbox Uploader device, and YYY with the number of your webcam